Soft Curls Hair Tutorial

Hello! This hair tutorial has been one of those things I’ve been meaning to do for a year now. When I’m in a hurry or going for more of an “undone” look with my hair, this is how I do it. I filmed a long (ten minute) video that explains my process and what products I use. (Sorry it’s so long! I just couldn’t get it shorter.) In reality though this only takes me five minutes or so. It’s so easy once you get the hang of it!
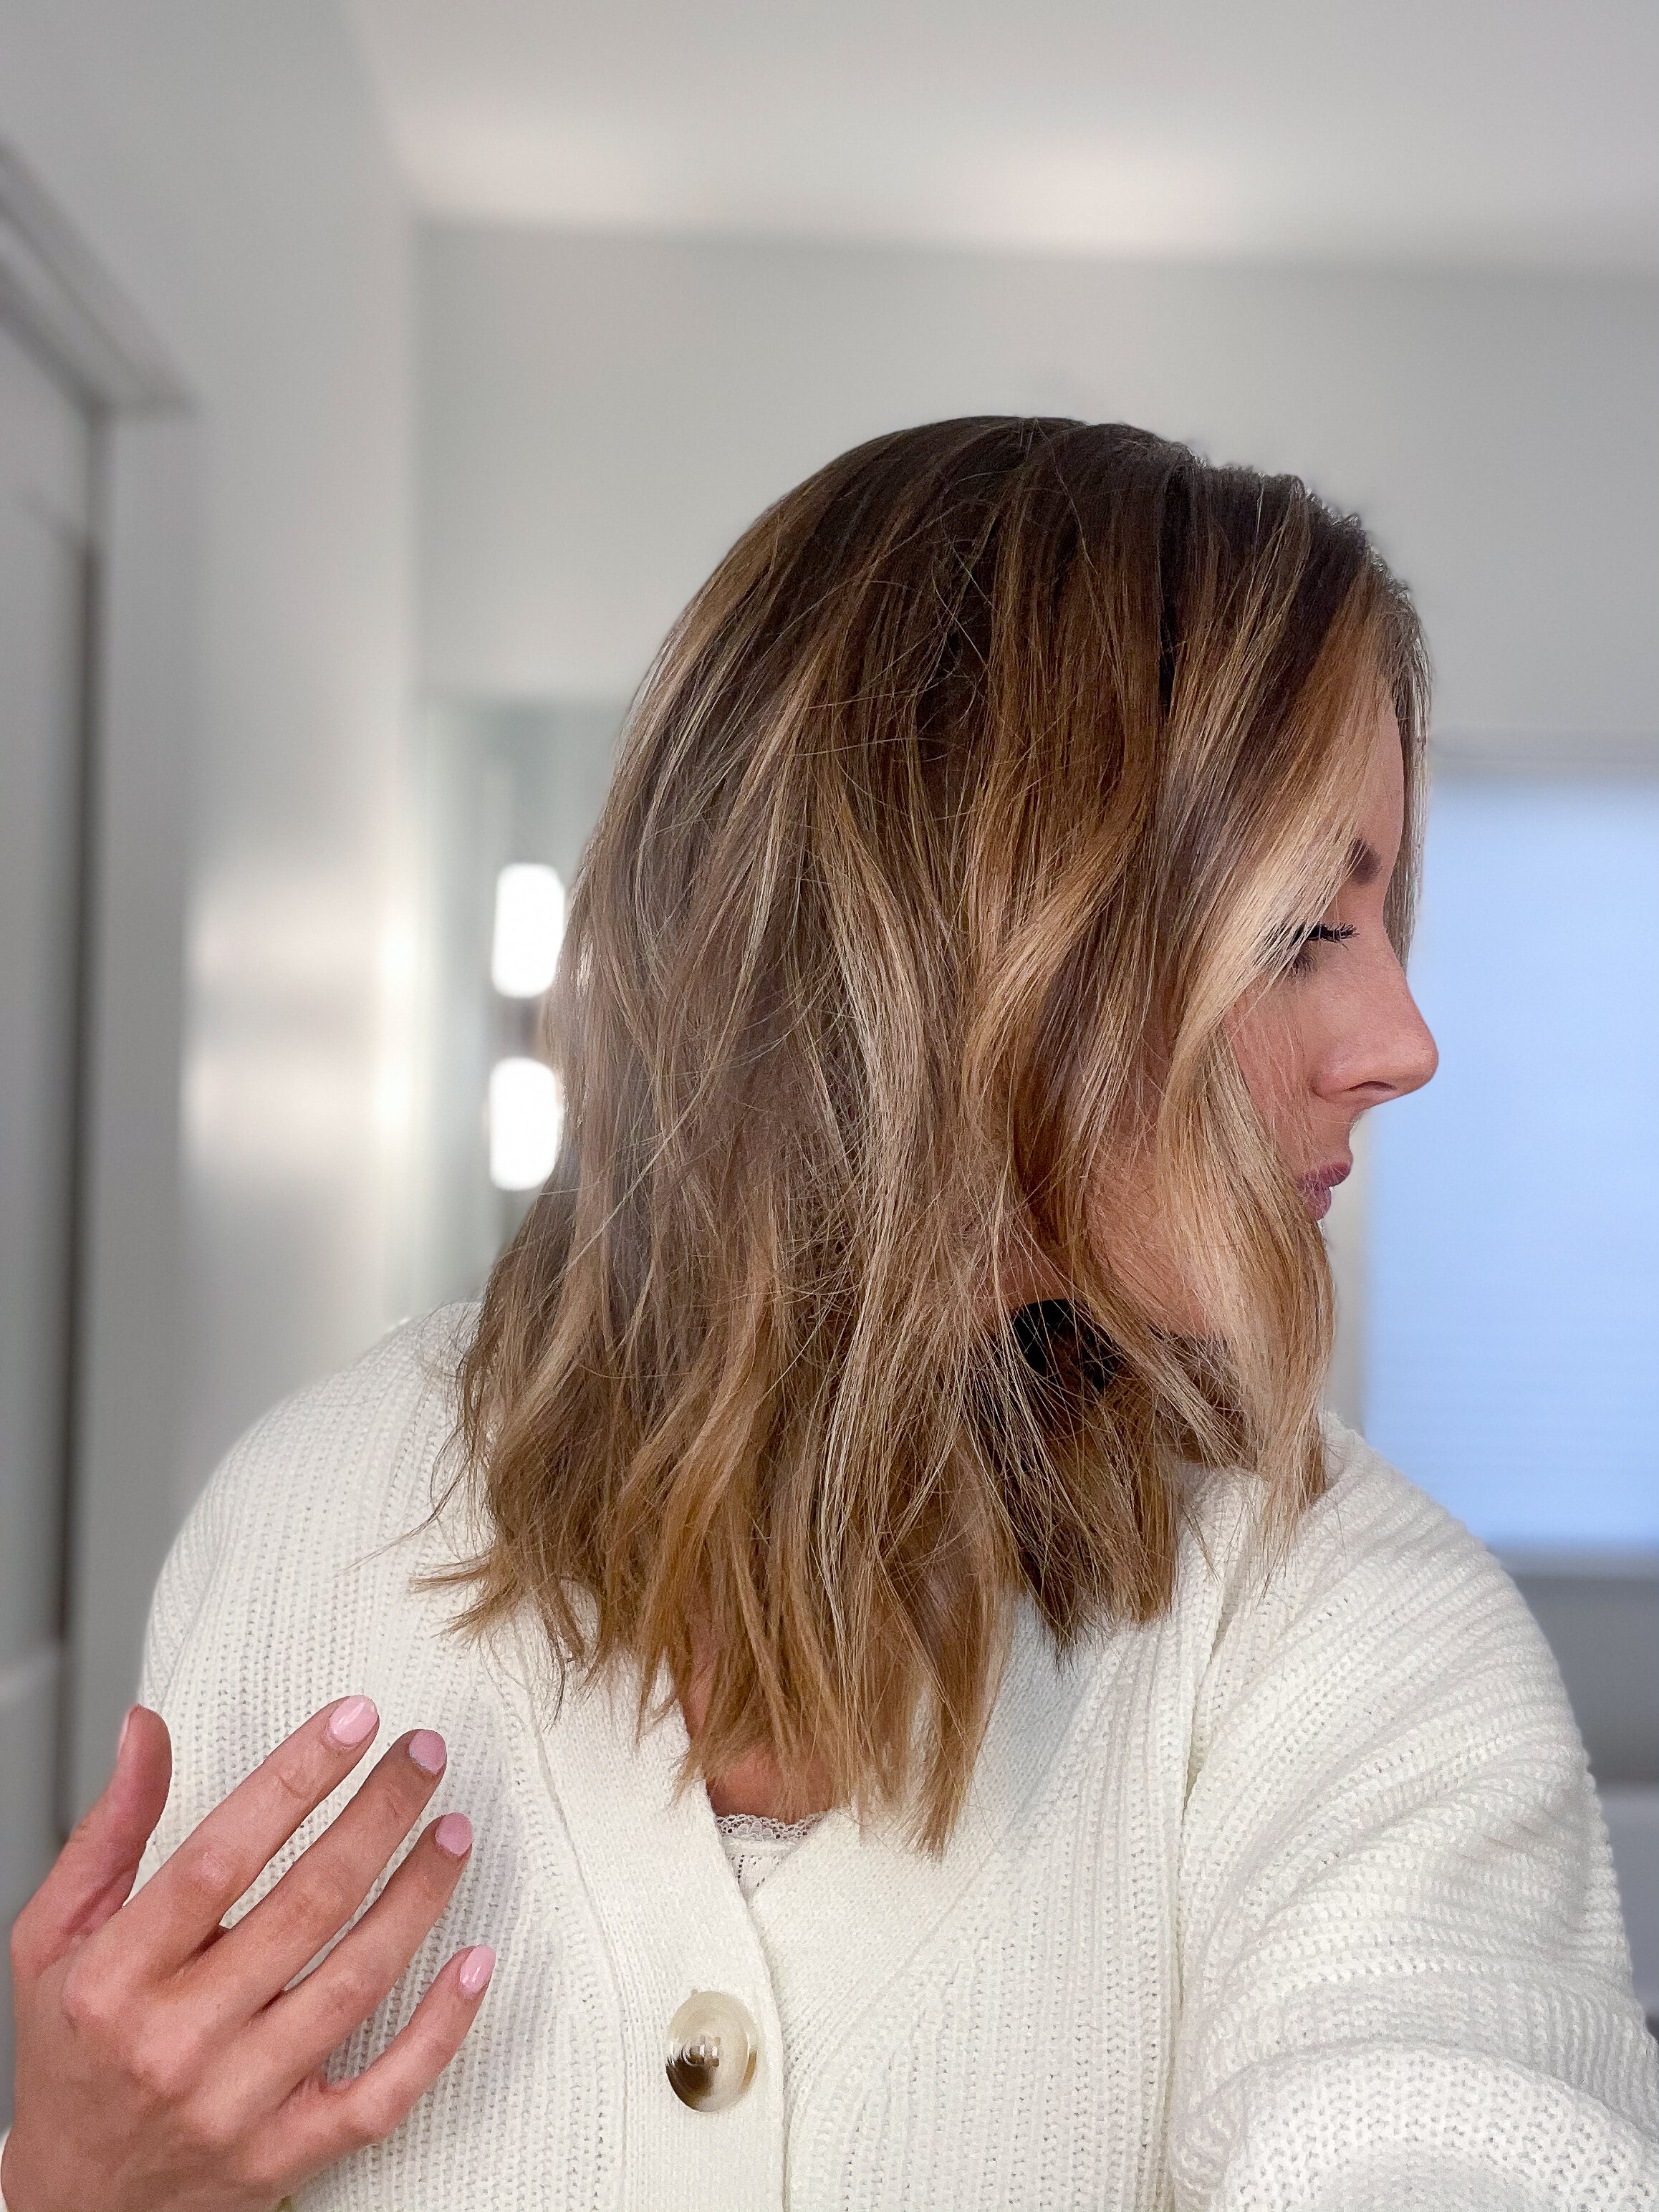
I should also clarify that I think this technique works with most lengths of hair. I do this when I have a short bob and just get a small kick out from the ends. Right now with my long bob I get about two times around the barrel and one to two bends. When my hair is longer, I’ll go ahead and curl the ends and get a much more blown-out bouncy look using this same technique and products.
The key to this look is three fold:
Larger barrel curling iron. I’m using this T3 “bodywaver” 1.75” curling iron. It is an investment, but I like that it has adjustable heat settings and a hollow ceramic barrel that helps have even heat and smooth hair. (Here are two affordable options - one for $29, one for $60. I used the second version for years before getting my T3. Note though these are both 1.5” though, whereas the T3 is 1.75”).
Don’t keep the iron in your hair very long. That and/or use lower heat. We’re going for a soft bend not ringlets. I know you may be tempted to hold it there for awhile because you’re so afraid of your curls falling, but TBH fallen curls is the desired look here.
Don’t try so hard. Care less here and you’ll usually get a better look. It’s okay if your sections of hair are a little different in size or have a different curl pattern. That’s the point! My hair always tends to look better when I’m in a hurry and I think this is why - I don’t have time to separate and comb out every last inch of hair. I just curl it quickly and be done.
Head’s up (pun intended): I have gray hairs, make weird faces, and am also not a professional video editor. It’s not perfect, but I managed.
If you’re not up for watching the entire video, here’s the gist of what I do:
Step 1: Blow Dry.
With my hair mostly wet, I applying this leave-in treatment spray that helps with smoothness and fights humidity and this lightweight volume spray. I let my hair mostly airdry because, well, mostly I’m lazy, but also I don’t need it to be sleek and smooth to begin this curl method. And then I roughly blow dry it to get it fairly smooth and straight. No round brushing or anything, just.get it dry.
Step 2: Curl Bottom Layer.
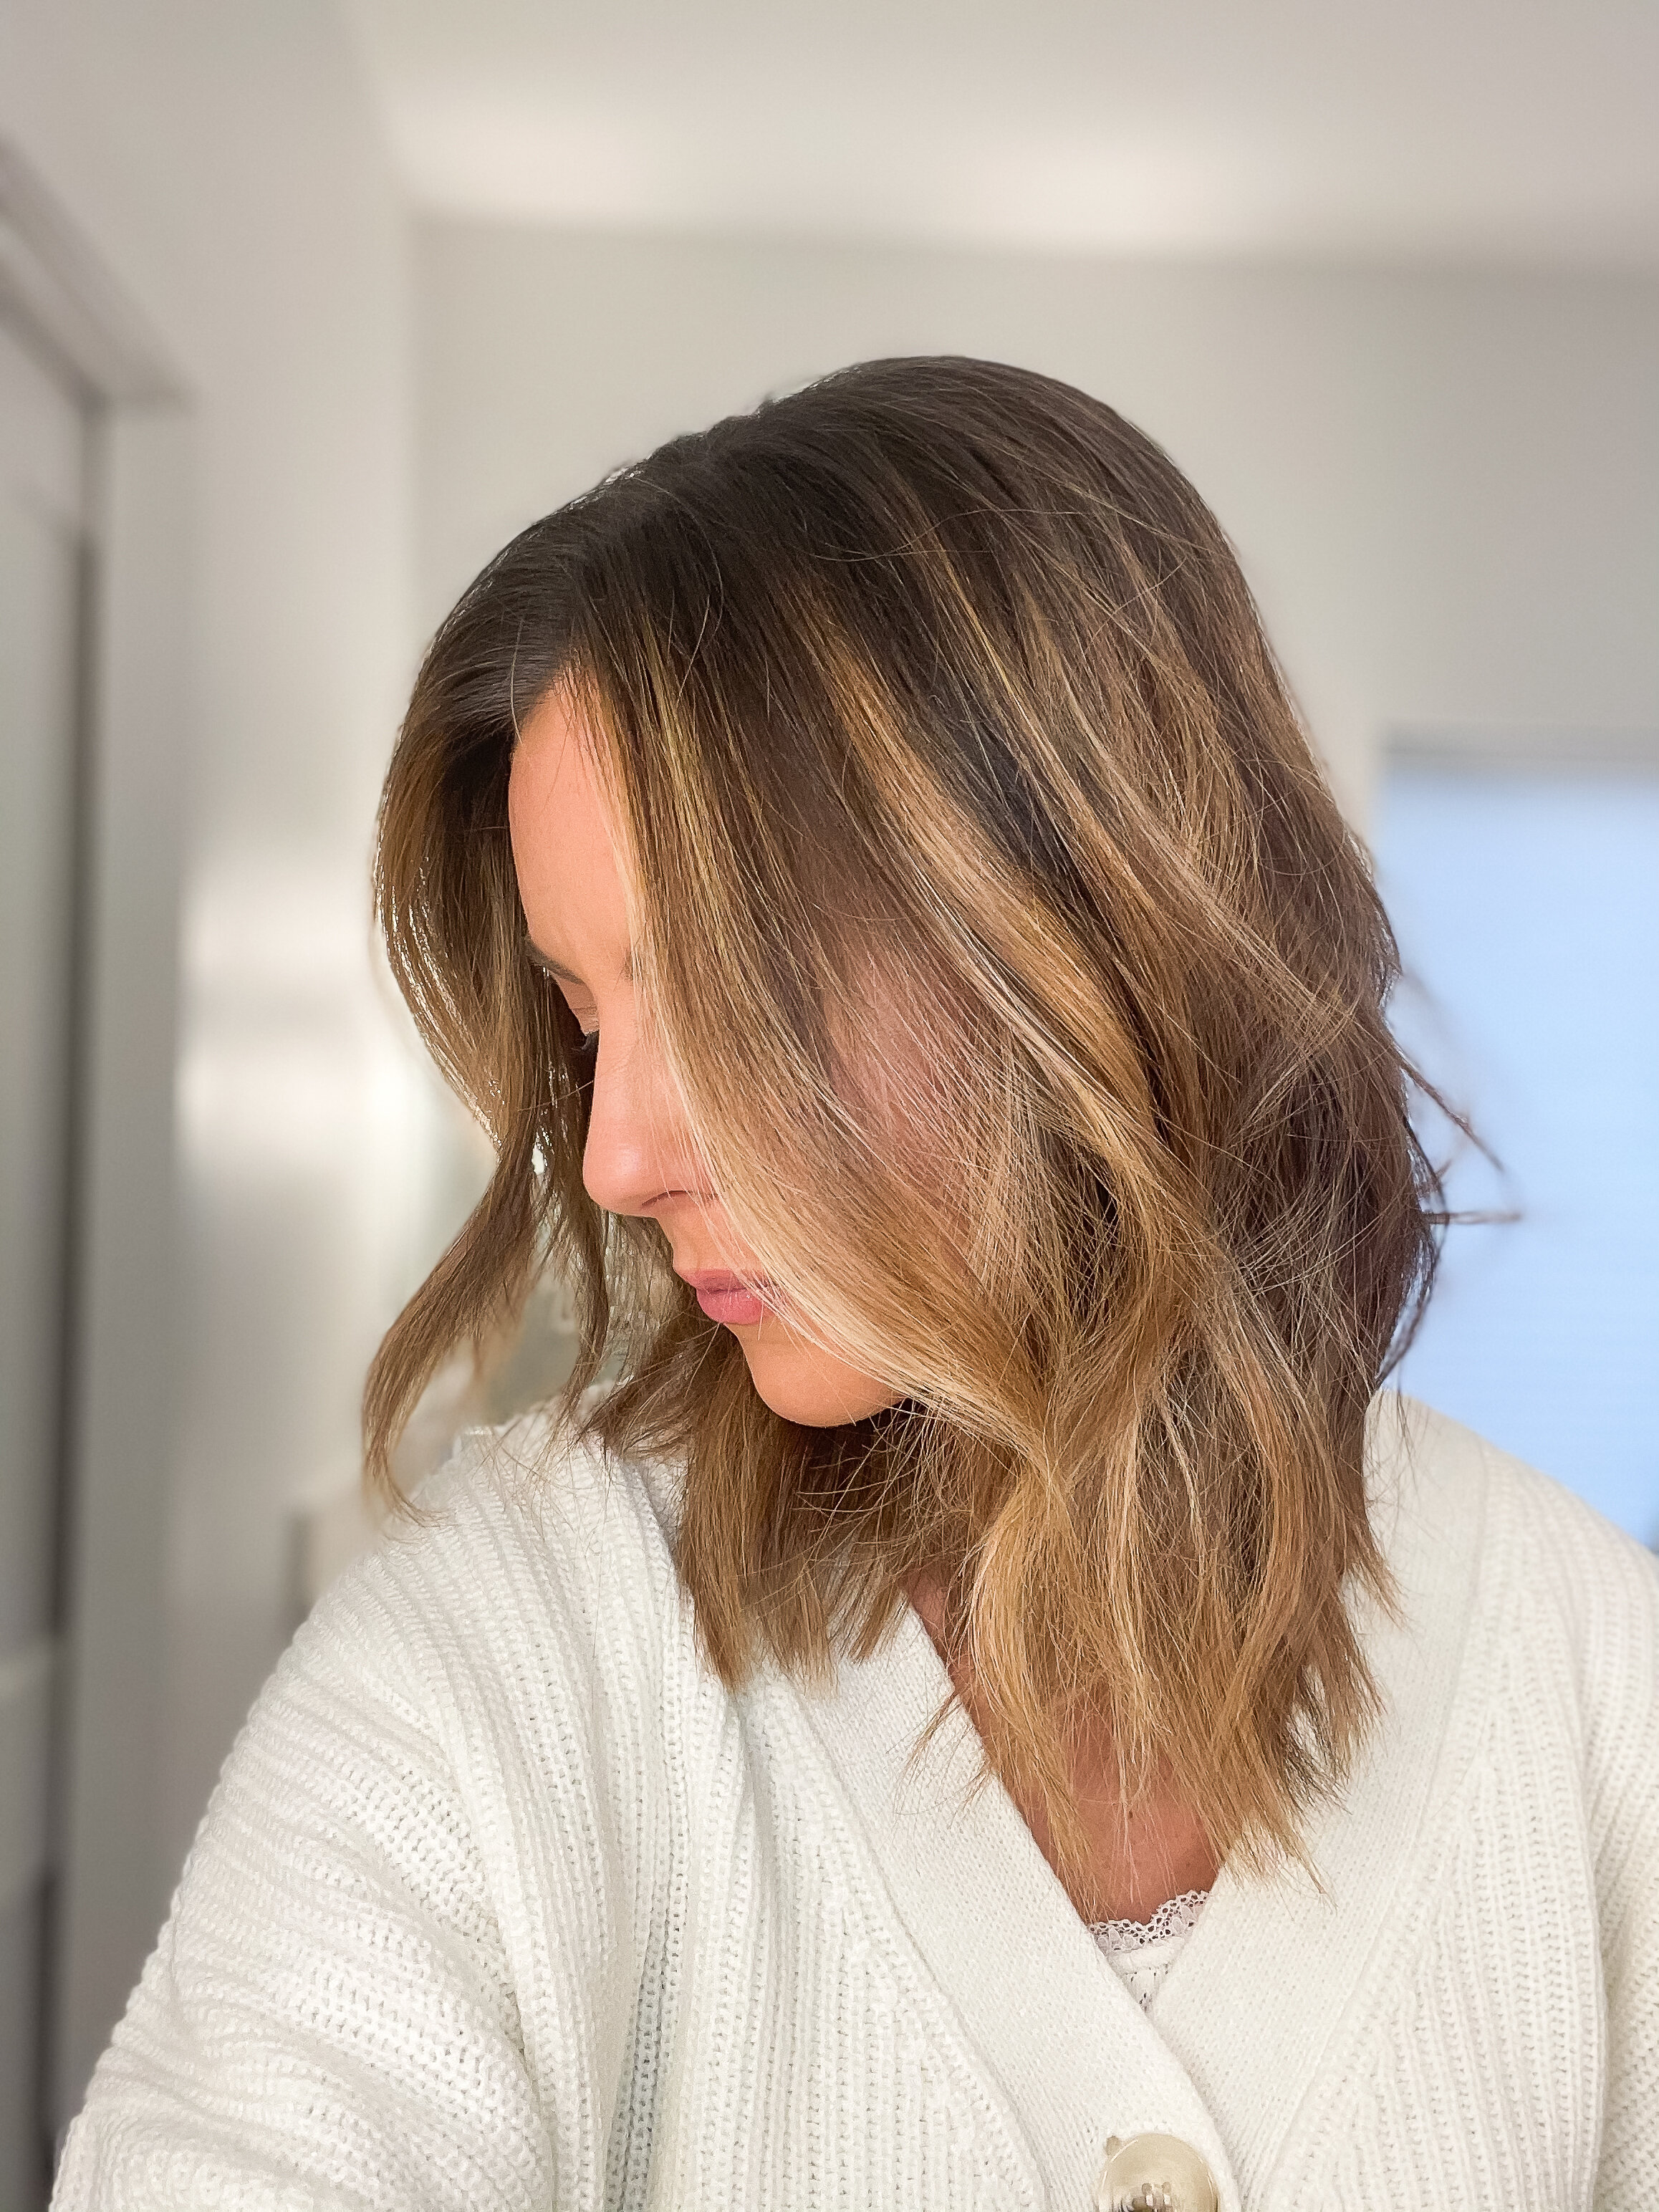
I divide my hair into two sections: top and bottom. The top section has about 1/3 of the hair and bottom 2/3rds. I begin curling by holding the iron at the root of my hair and pulling out and around getting the hair to wrap around the iron. I leave the bottom inch or so out of the iron (don’t pull all the hair into the curl), hold for two to the seconds and then release the clamp while dragging down on the hair. I alternate directions starting with curling away from my face at first and then towards my face all the way around my head. I’m using this comb and these clips in the video. I lightly mist the curls with this flexible hairspray once finished.
Step 3: Curl Top Layer.
Because of my crappy postpartum hair regrowth issues, I clip the front sections of my hair (my “bangs”) aside and do those last. I curl the rest of the hair using the same technique outlined in Step 2 except that I turn the heat down one notch because there’s less hair in this section and so much of my hair is that new hair regrowth from when it all feels out (thanks, kids). I switched combs for this part of the video, using this one. For the “bangs” I wrap them only once around the barrel of the curling iron and hold them for less than a second and drag them down as I release the barrel. Once finished, I mist this layer again with this flexible hairspray. I let the curls cool before proceeding (i.e. I brush my teeth and get dressed).
Step 4: Zhuzh it up.
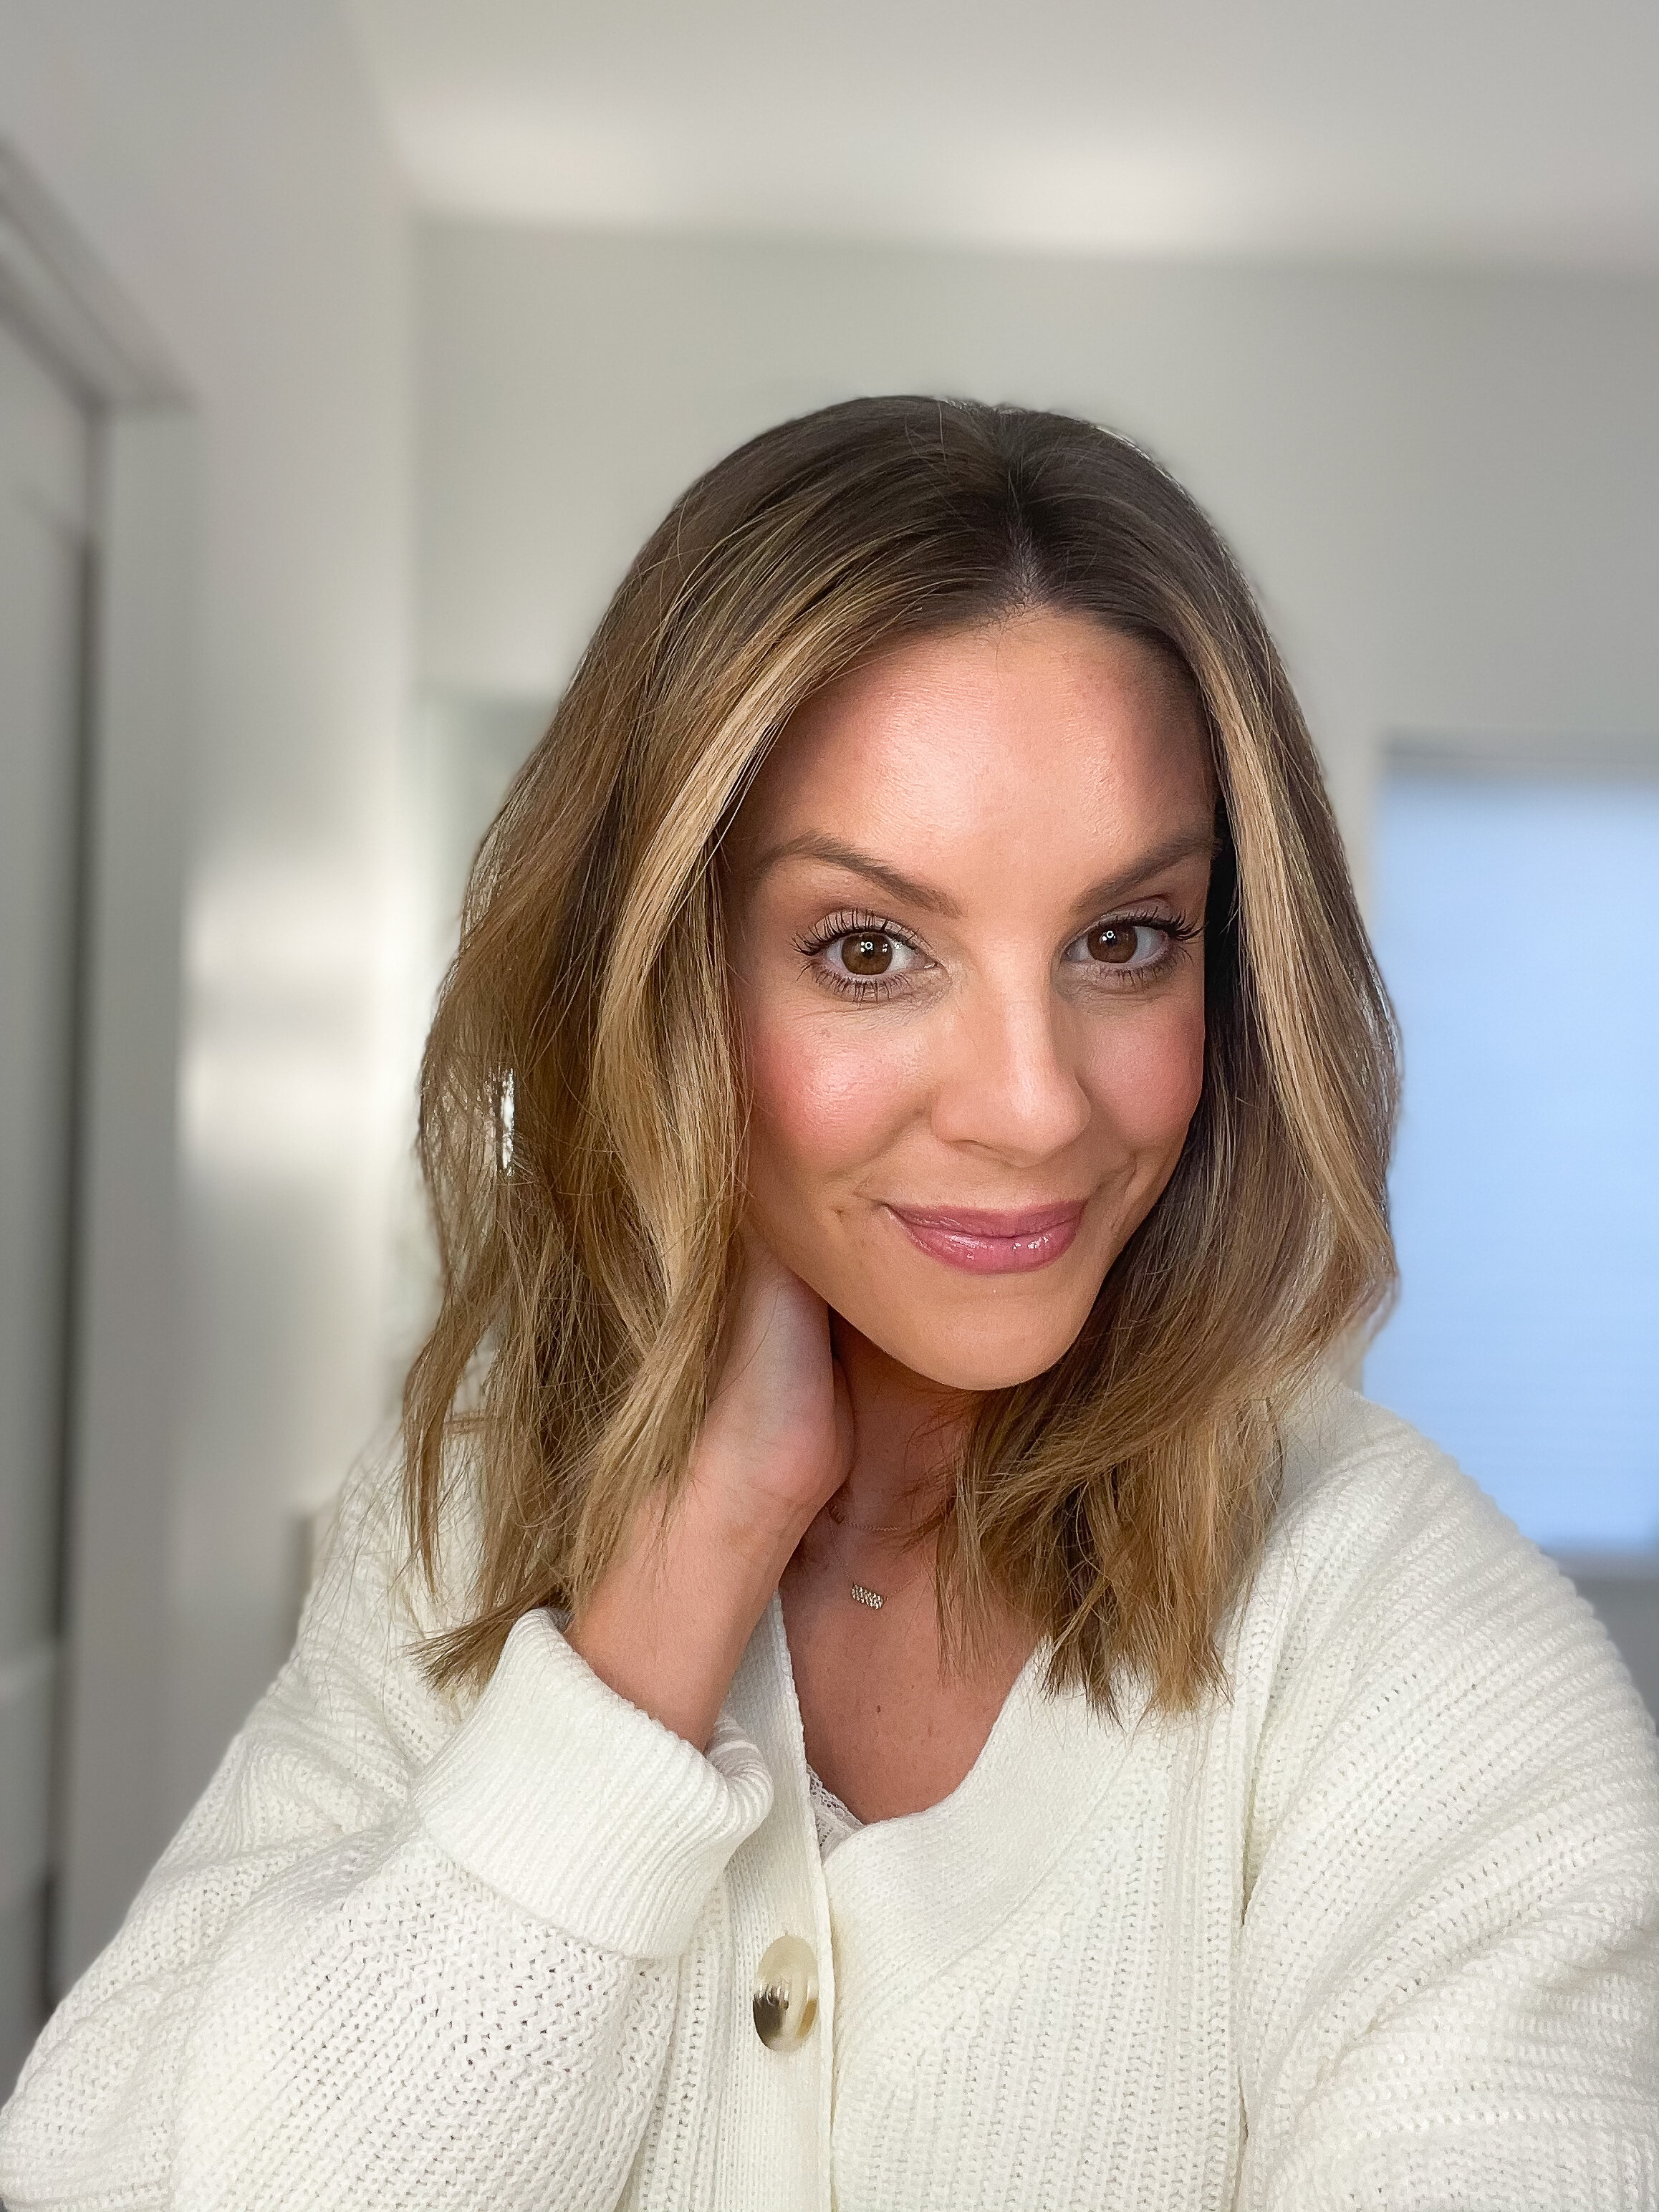
(If you don’t know what shush means, click here). This product adding step is of the utmost importance. It will take you from goldilocks curls to cool-girl hair. Once my curls are cool, I spring two shakes of this volumizing powder into my palms and then shake them underneath my hair at the root to give it texture and lift. Then I spray a little of this texturizing spray mid-shaft and use my fingers to gently separate and scrunch my hair, breaking up the curl pattern and giving it a more piece-y look. Finally, and these two products are optional depending on your hair, I’ll use this wand-product to tame fly aways and if my ends are feeling particularly dry, I’ll rub a bit of this shine-enhancing oil between my palms and press it onto my ends. And finally and the very end, to embrace my new-found Texas status, I tease the crown just a bit for some volume. I also tease just a little bit of my front bangs so they stay up and off my face. I love this teasing brush because it gives height but keeps smoothness.
And that’s it! Best part of all of this is that it holds pretty well for me and on day two I can use a little dry shampoo at the roots and re-curl a few pieces as needed. Again - the more undone the better IMO. The days I receive the most “love your hair today” DMs are usually when I’m on day 2 and slept on it and touched up the front a bit. I hope it doesn’t seem time consuming intimidating, it’s actually quite easy especially when you don’t try so hard! Grab a larger barrel iron and give this a go. Let me know if you do it!
shop this post
linking my curling iron from a few different retailers so you buy from wherever you prefer. click the arrow to see the other products used.

